Create a Plaid integration
This guide describes how to integrate the Plaid Auth product with your Rebilly account and use it to verify customers' bank credentials, which simplifies the process for the customer.
To complete this guide an active gateway that supports ACH is required. If you are testing in the sandbox environment, a test payment gateway called TestProcessor is already configured. For more information, see Set up a payment gateway.
Prerequisites
Complete this section to create resources and also to gather your website ID, organization ID, and secret API key. These resources and details are required to complete this guide using your Rebilly sandbox environment. If you have already created these resources, skip this step and continue to Configure Plaid integration.
Expand to complete
Obtain IDs and a secret API key
This step describes how to obtain your website ID, organization ID, and secret API key from your Rebilly sandbox account.
When you first log in to Rebilly, you create an organization as part of the setup process. A default website is created when a new organization is created. For more information, see Organizations and websites.
- Log in or sign up to Rebilly.
- Obtain your organization ID and website ID:
- In the left navigation bar, press Settings .
- In the Management section, press My organization & websites.
- In the Organization details section, note the ID value.
- In the Website section, note the ID value. For more information, see Organizations and websites.
- Obtain your secret API key:
- In the left navigation bar, press Automations .
- In the Development section, press API keys.
- Optionally, if you have not created a secret key:
- In top right of the screen, press Create API key.
- In the API key type section, select Secret.
- Optionally, in the Organizations dropdown, select the organizations that can use the API key.
- Optionally, in the Allowed IPs field, enter the IP addresses that are permitted to use the API key.
- Press Save API key.
- Go to the API keys page.
- Select a secret key and copy the Key value.
Create a customer
This API interaction creates, or updates, a customer in your Rebilly sandbox account. For more information, see Create a customer.
How to use the interactive example
- Enter your organization ID:
- Beneath the Environment field, press
{{server}}. - Beneath the URL, press Show nested variables, then press Edit.
- In the Value field, enter your organization ID and press Save.
- Beneath the Environment field, press
- Enter your secret API key:
- Press Security.
- In the API key field, press
{{SecretApiKey}}, then press Set value. - In the Value field, enter your secret Rebilly sandbox API key and press Save. For more information, see Obtain IDs and a secret API key.
- Enter a customer ID:
- In the URL field beneath the Environment field, press
{{id}}. - Press Set value.
- In the Value field, enter a customer ID.
Example:cus_01HDP7FFX2PGDVH1995EA4QY95.
- In the URL field beneath the Environment field, press
- Enter your website ID:
- Press Body.
- In the
websiteId, enter your website ID. - Optionally, change the customer details.
- Press Send.
The id value from this response is used as the customerId value in Step 3.
Configure Plaid integration
1. Set up Plaid
Set up Plaid to create a link that allows customers to connect their bank account to your application.
- Sign in to your Plaid dashboard.
- In the top navigation bar, press Team settings > Application.
- Add your application information, then press Save changes.
- In the top navigation bar, press Customize > Application.
- Customize your Plaid link. For guidance, see Link best practices.
- In the top navigation bar, press Team settings > Keys. Use these credentials in the next step.
2. Connect Plaid to Rebilly
Connect Plaid to Rebilly to enable the Plaid integration.
- In your browser, in a new tab, go to Rebilly.
- In the left navigation bar, press App store, then press Plaid.
- Enter your Client ID and Secret key, and press Save.
3. Create a transaction
Create a transaction using the Rebilly API. The transaction accepts ACH payments and uses the Plaid integration to authenticate the customer's bank credentials.
This step requires a customer ID. If you have not created a customer, see Create a customer.
Create a transaction using the Rebilly API
Using the interactive API component below, complete the following steps.
- Enter your organization ID:
- Beneath the Environment field, press
{{server}}. - Beneath the URL, press Show nested variables, then press Edit.
- In the Value field, enter your organization ID and press Save.
- Beneath the Environment field, press
- Enter your secret API key:
- Press Security.
- In the API key field, press
{{SecretApiKey}}, then press Set value. - In the Value field, enter your secret Rebilly sandbox API key and press Save. For more information, see Prerequisites.
- Enter your website ID, customer ID, and transaction details:
- Press Body.
- In the
websiteIdfield, enter your website ID. - In the
customerIdfield, enter your customer ID.
Example:cus_01HDP7FFX2PGDVH1995EA4QY95. - In the
amountfield, enter75. - In the
paymentInstructionfield, enterach. - In the
billingAddressfield, enter the billing address for your customer. - In the
requestIdfield, enter a unique string of values. This value must be unique for each transaction. - Use the
notificationUrlandredirectUrlfields to manage the offsite payment process. For this guide, usehttp://example.com.
- Press Send.
You have created a transaction with aunknownresult and awaiting-approvalstatus. - In the response, in the
_linksarray, locate the"rel": "approvalUrl", thehreffield.
This URL is a hosted payment URL and is used to complete the payment. Example:https://sandbox.secure-payments.app/payments/approval/91b8e739-f333-47ea-8d92-176cbc247e1a/b9ebd7b3261842daba15fffc65ba992a/ - Open the URL in a new browser window or tab.
- Continue to the next step — Complete the payment using a hosted payment form.
Loading...- Enter your organization ID:
Complete the payment using a hosted payment form
With the URL from the previous step open in a new browser window or tab, complete the following steps.
To preview the user's journey when using the Plaid Auth product, see Plaid user journey.
- Select a bank.
- Enter the following test credentials below:
- Username:
user_good - Password:
pass_good
- Username:
- Submit the form. The hosted form will PATCH the transaction with the service credential from Plaid.
View activity in the customer timeline in Rebilly
To view the transaction in the customer timeline, complete the following steps.
- Log in or sign up to Rebilly, press Data tables, then press Customers.
- In the Name column, then press the related customer.
- Scroll down to the Timeline section and to view interactions.
Plaid user journey
This section describes the user journey when using the Plaid Auth product integration in Rebilly.
| Plaid user journey | ||
|---|---|---|
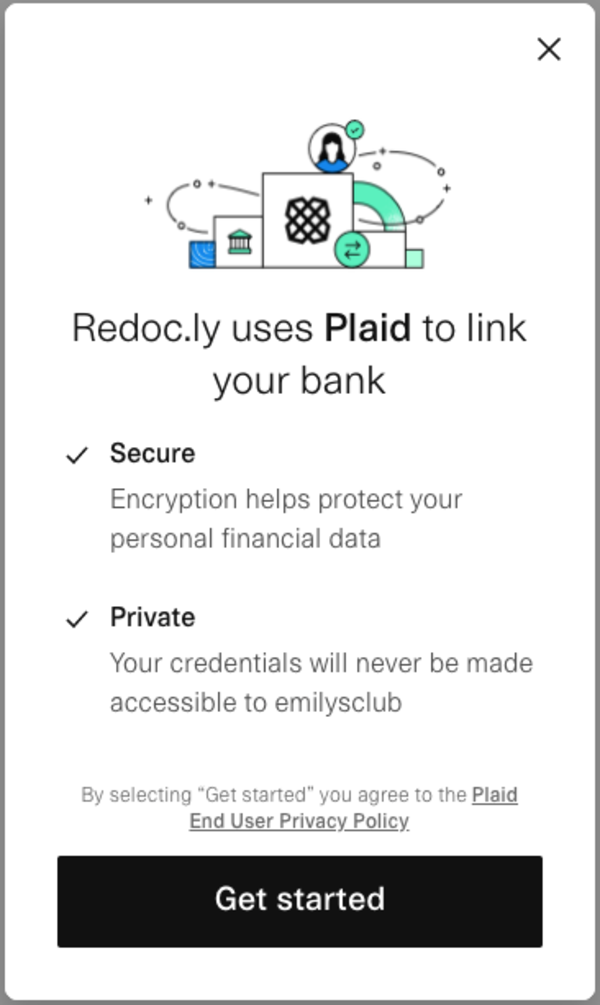 | 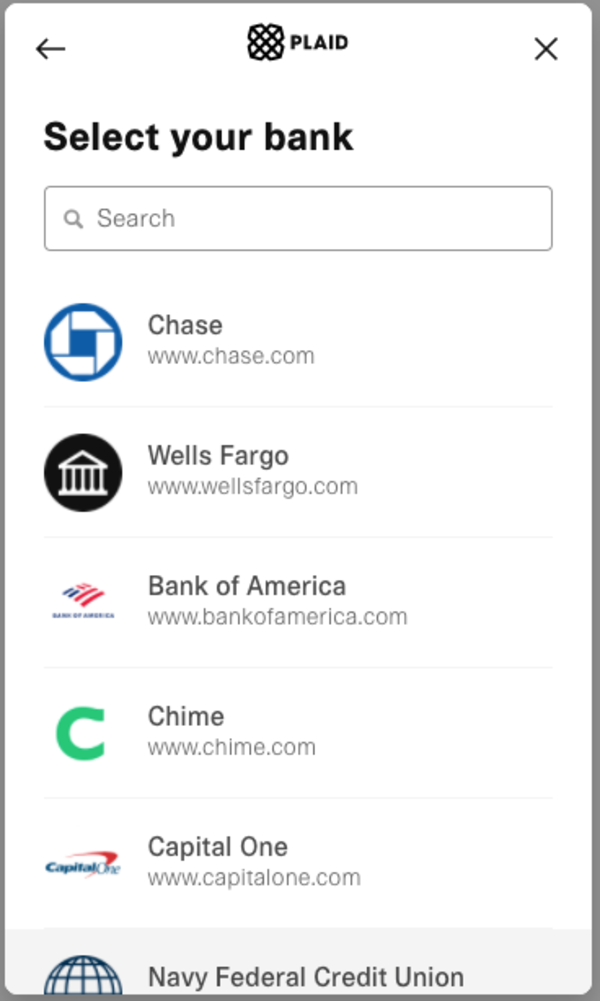 | 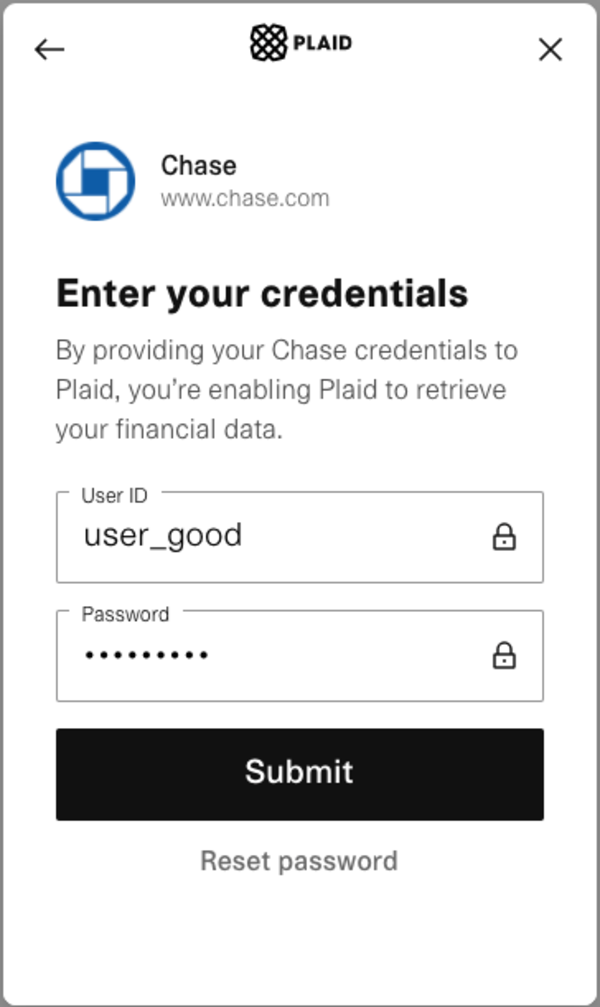 |